
Firmware List
Android 11 V2.0.6
Debian 10 V2.0.4
Android 10 with youyeetoo 7inch LCD screen
3rd Firmware
Summary


Source Code
Android Source Code
API
Programming_Guide
ASUS API (Library, Header files, Sample code)
Size parameters
2D Drawing (PDF, DXF) for Tinker Board 2 & Tinker Board 2S
Supported Peripherals
ASUS test Peripherals
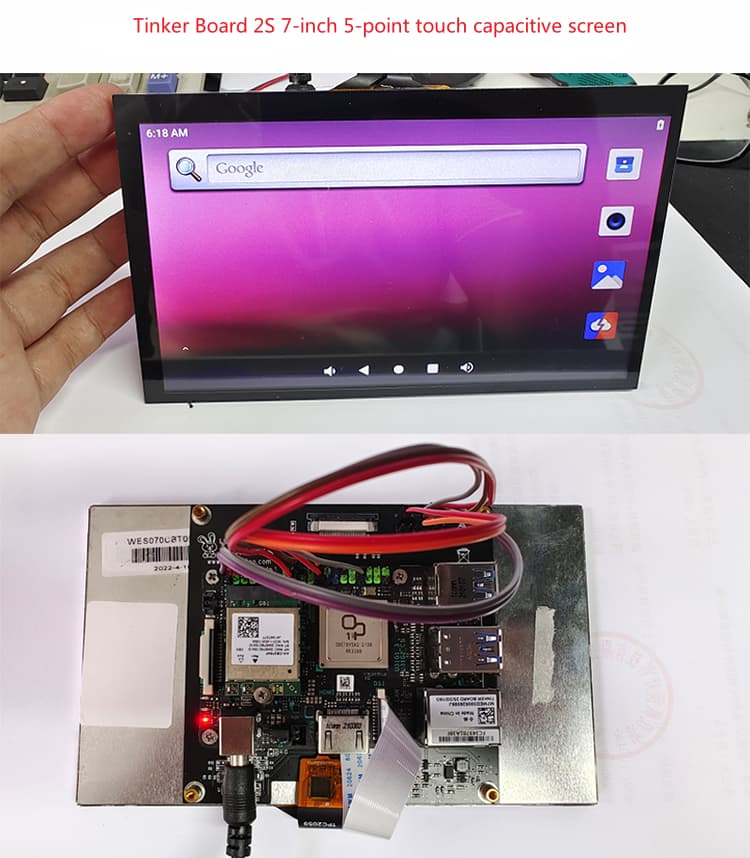
youyeetoo 7inch touch screen WIKI
Quick Start:
From ASUS Offical Quick Start WIKI
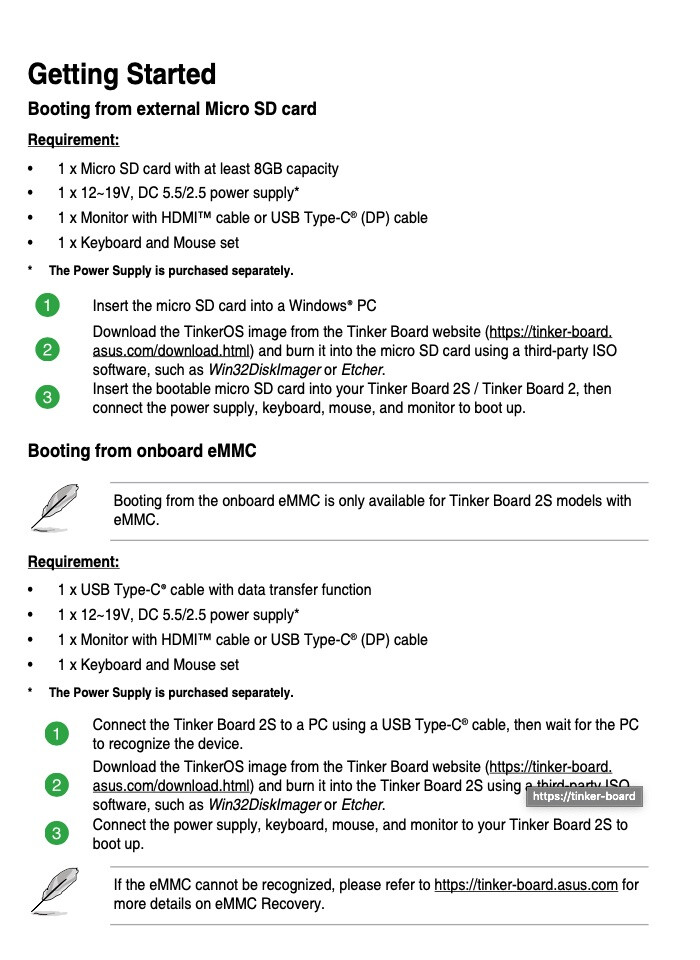
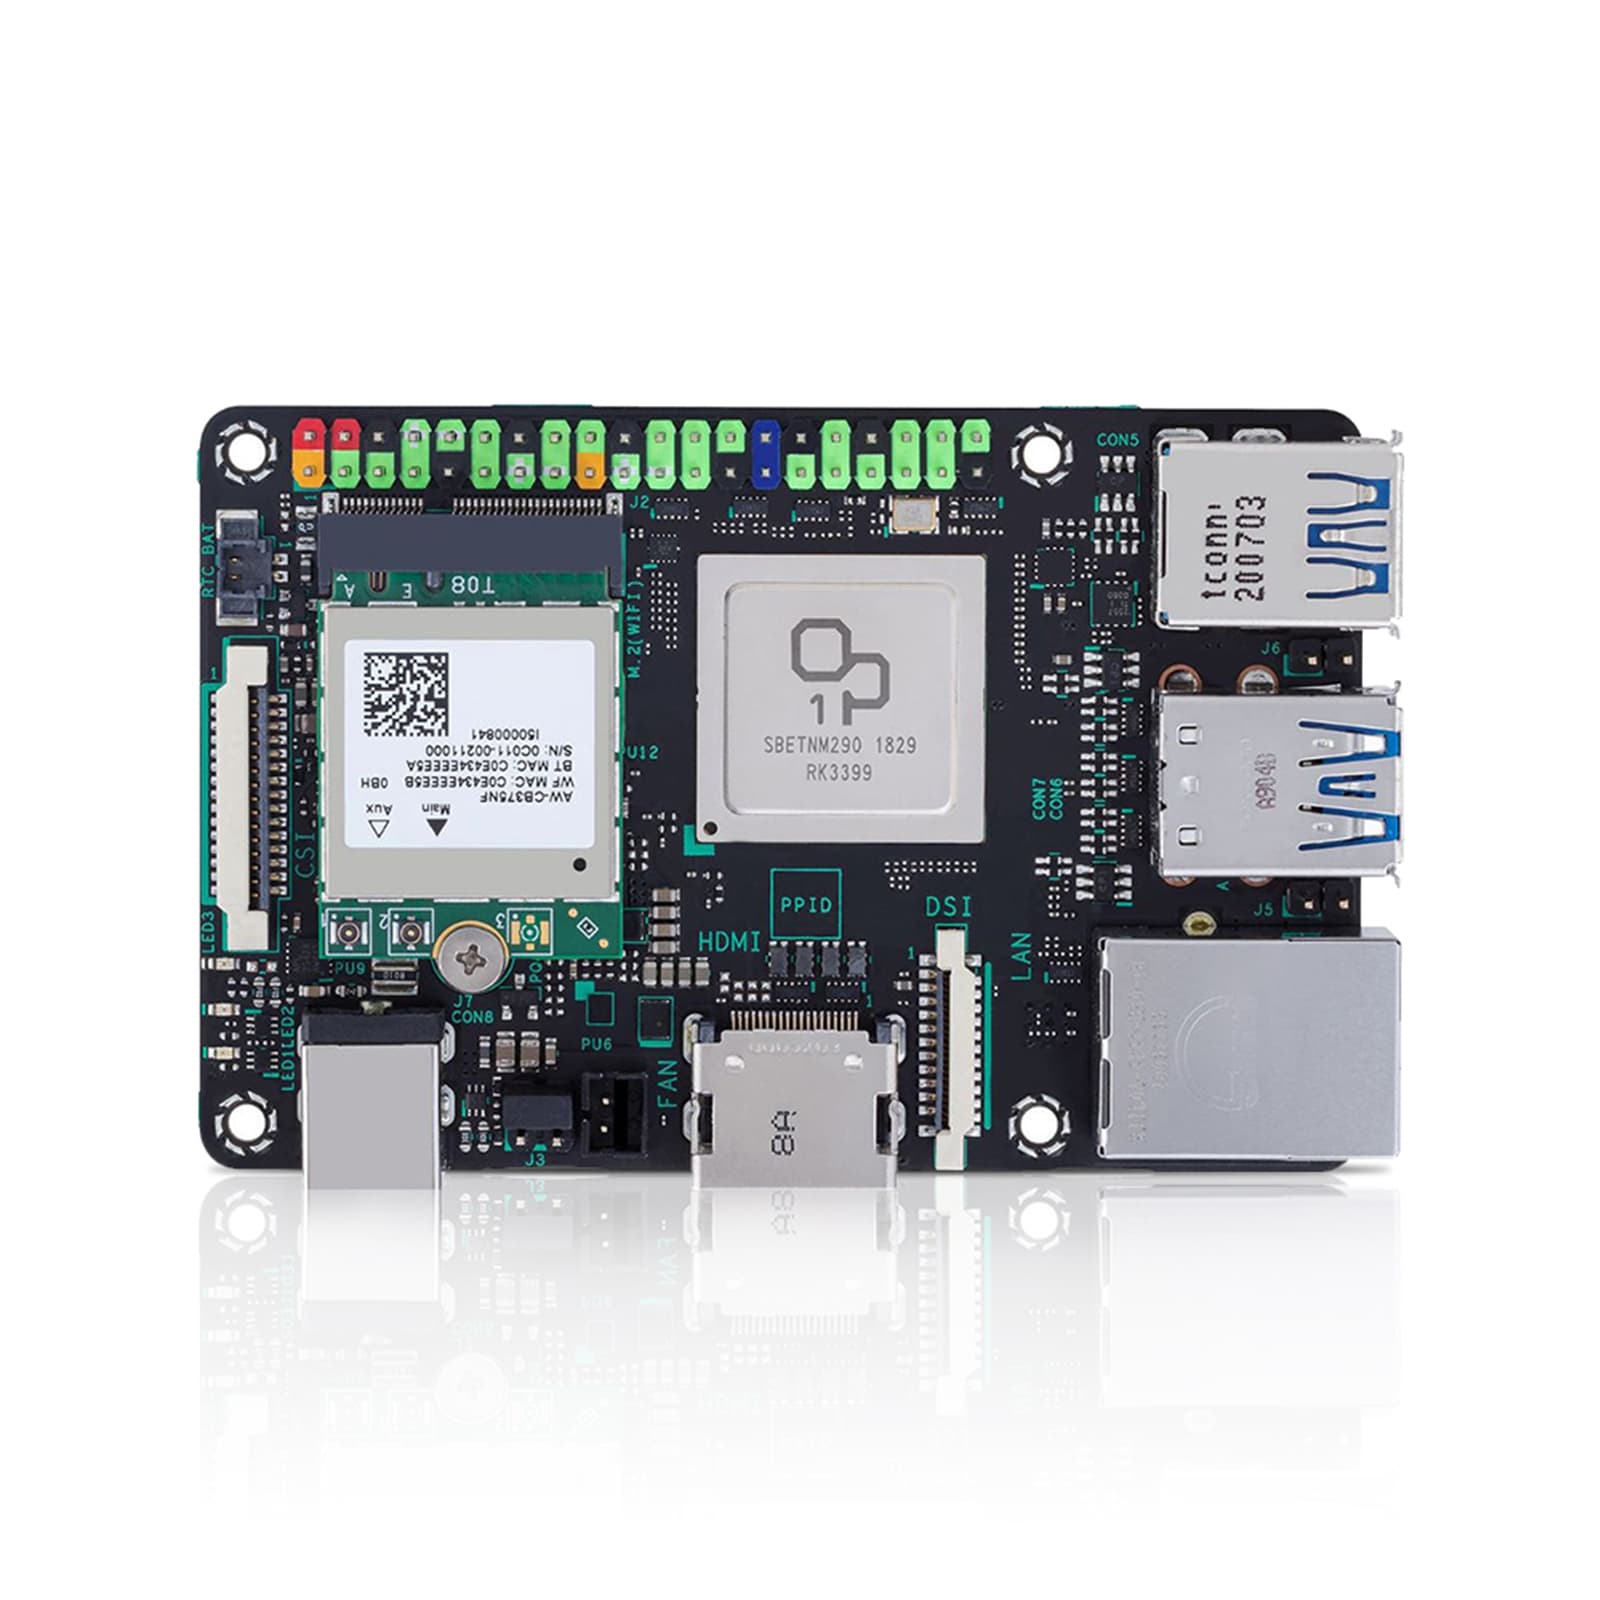
So If you want to use Tinker board 2 / 2S, you need to prepare
-
at least 8GB MicroSD (2S not need)
-
12-19V DC5.5/2.5 Power
-
HDMI or USB-C (DP) Cable
-
USB-C Cable (Tinker board 2 not need)
-
keyboard and mouse set
optional:
USB to TTL cable
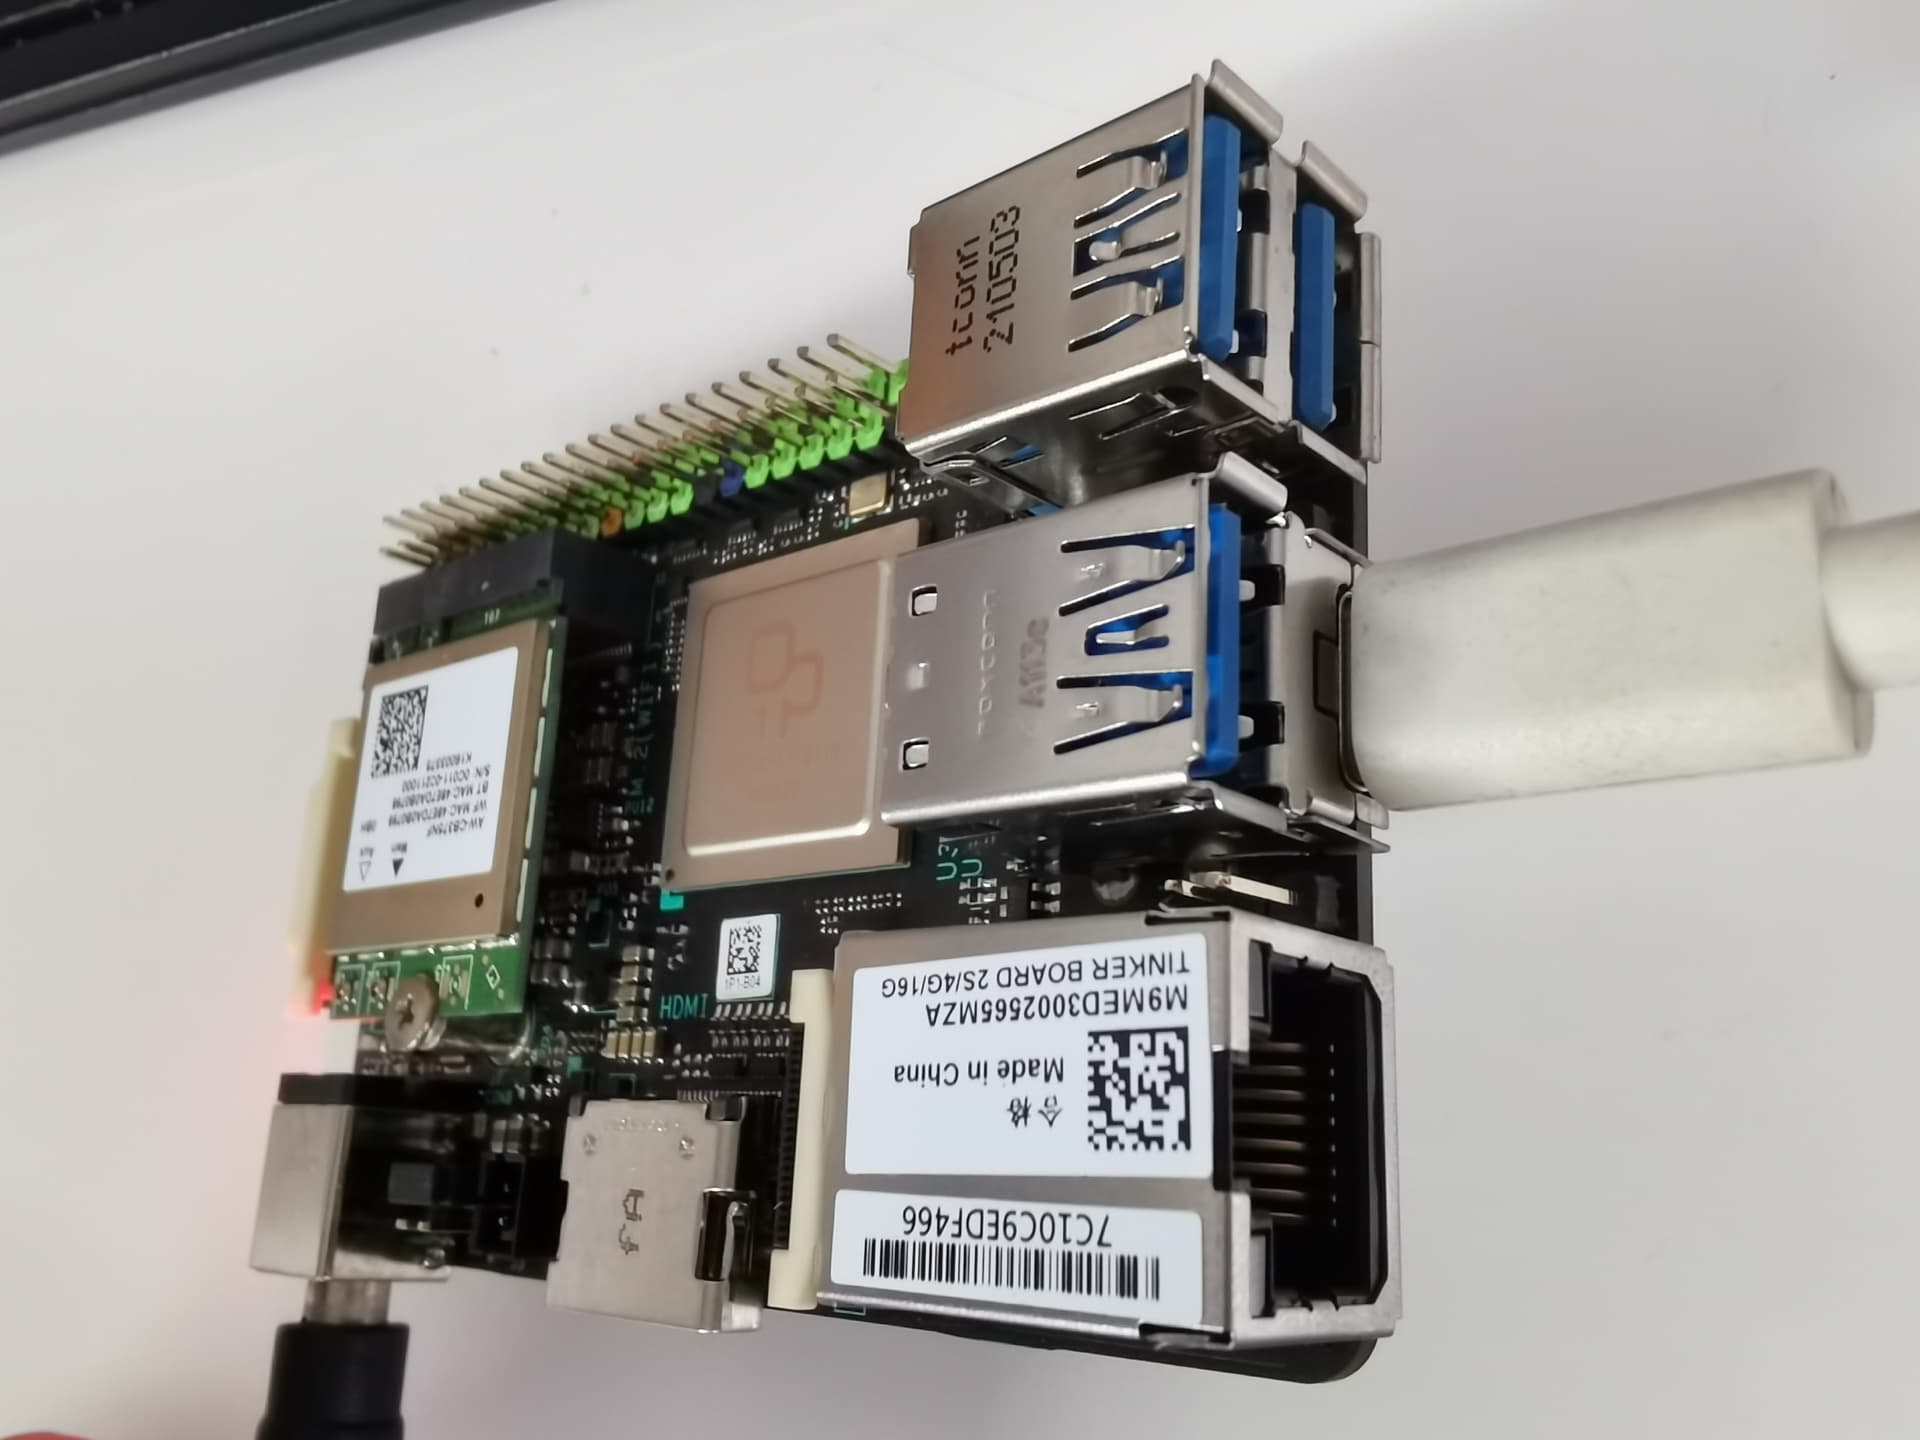
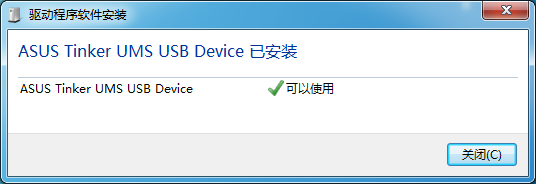
If you use 2S, you need to install RK USB DRIVER and adjust the jumper cap as shown.
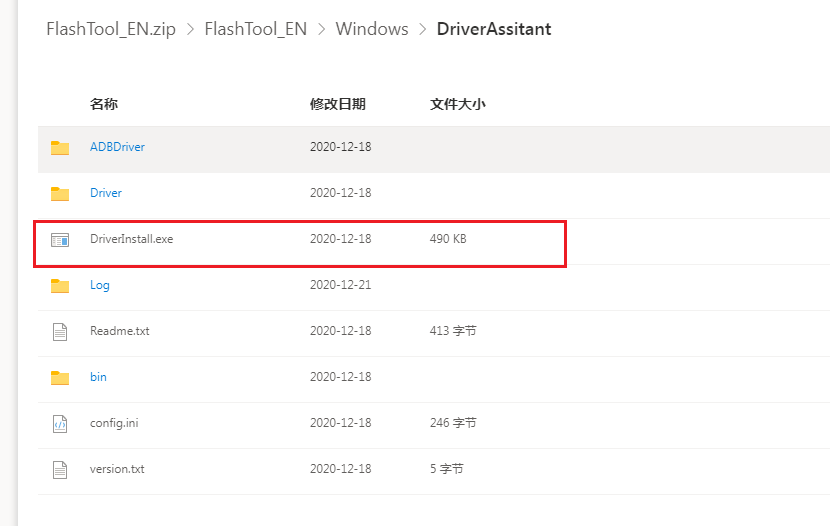
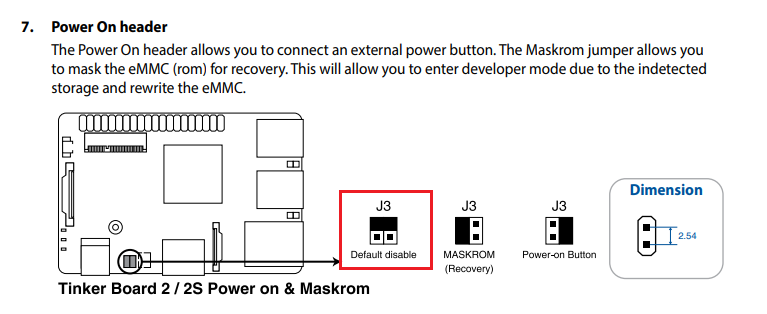
First connect the tinker board 2S with the USB of the computer with the USB-C cable of USB3.0, and then power on the power supply. At this time, the tinker board 2s development board enters the burning mode.
note: In the burning mode, a prompt box will appear on the computer to ask whether the disk needs to be formatted. Select Cancel, otherwise the uboot of the board will be formatted together
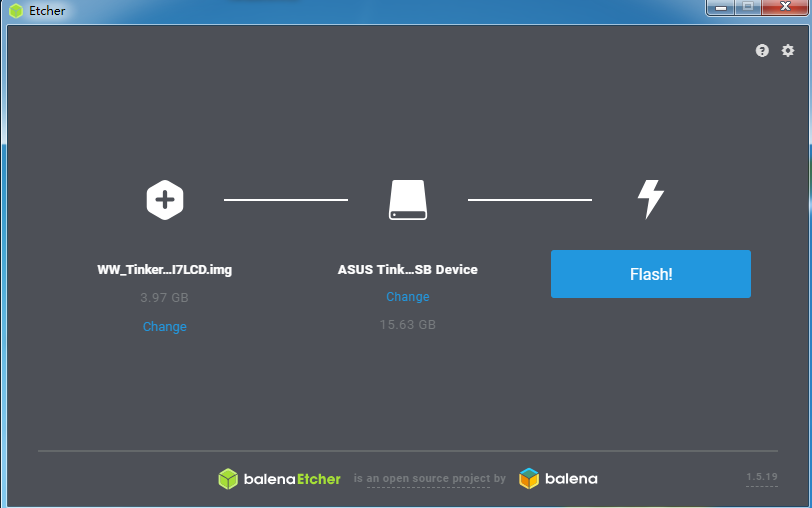
Burn via Etcher
After the burning is completed, you can unplug the USB-C cable, connect the HDMI cable or DP cable and restart.

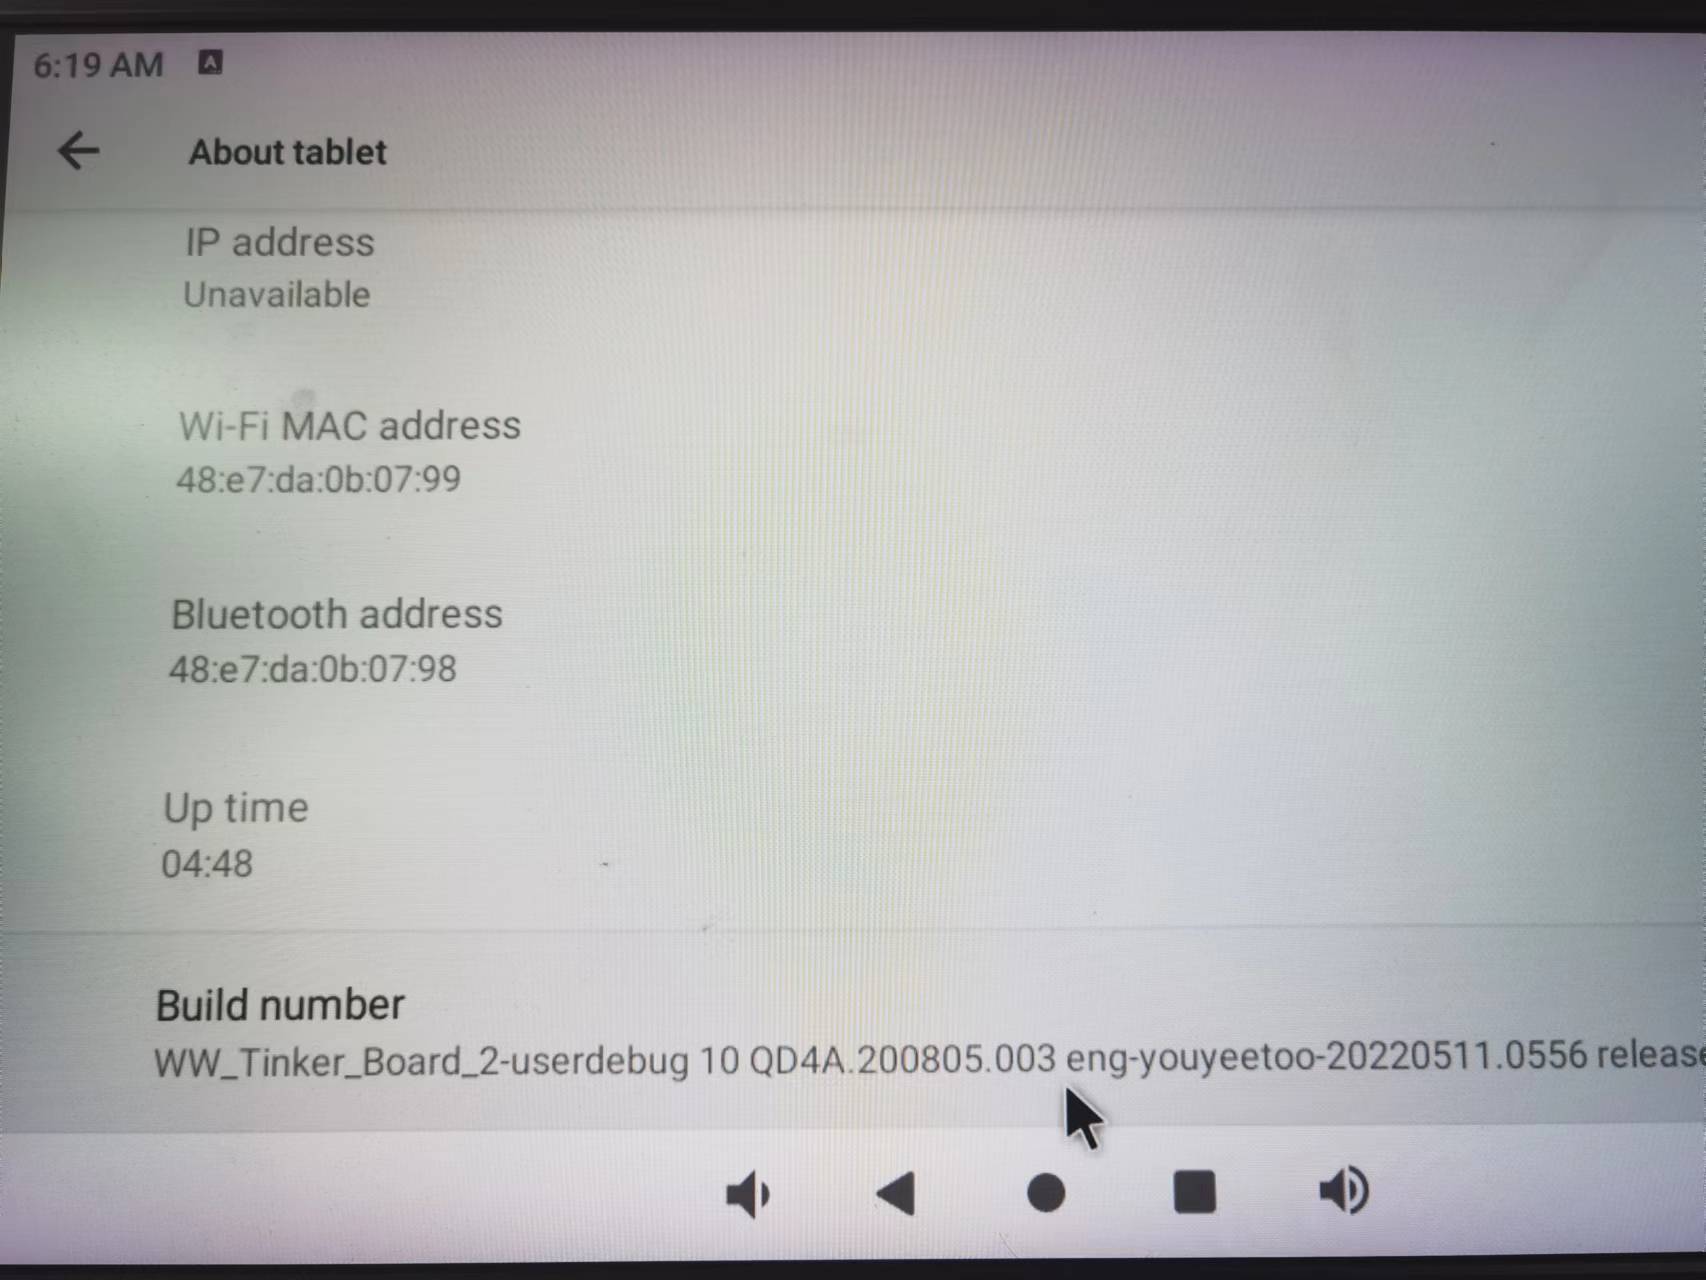
(How to use the screen, please refer to the supported peripherals above.)
Amazon Selling Links
Made by ASUS, solid as a rock.
Charles
Technology changes lives.